Saturday 25 June 2011

Happy Birthday to me

I've been crazy busy lately so this is why this post is quite late...

So it was my birthday a while ago (actually almost a month ago now), but I thought I would share with you the day!

The day first started off with my besties and I going out for some morning tea (followed by some great deals and tv filming...)
Then, the boyfriend took me on a surprise birthday afternoon (I am so lucky!). We took a drive that eventually led us up to a monestary, which is somewhere we have been wanting to go for a while! However, on our way there we randomly turned into a sub-division and found a really cool lookout they had made!


We then headed to the monestary and marvelled in its beauty!


Gorgeous, hey? We had heard from some friends that there is a trail on the property that leads to this amazing view, so we decided to explore and find it! It was such a beautiful walk through the meadow/forest, and the lookout at the end was incredible!


These are some other pictures from the day that Kyle had captured..


We then went onto having a lovely dinner at The Keg (where our first date happened), a girly movie that I had been wanting to see, and a walk at the lake! What a perfect birthday it was!


xoxo Bee


Friday 27 May 2011

DIY Doily Ball

Doily's aren't just for your grandmas house anymore.

I have recently started to really like doilies. I love how beautiful they are and the many different things you can create with them. I was on a site called pinterest (which is the best site ever), and I saw a picture for a doily ball. Ah, it was gorgeous and I knew that I needed to have one in my room. After a search all over town for wallpaper glue (some of the most obvious stores didn't have it), I finally made this beautiful creation.

Materials:
1 punching balloon (from the dollar store)
paint brush
string
doilys (get a lot, I thought I would have enough to make a big and small one, but I just had enough for my big one!)
wall paper glue
paper to not get the glue everywhere (Bieksa winning goal paper is preferred)

Instructions:

Blow up your balloon (or whatever inflatable object you are using).

Take one of your doilies and on both sides cover it with the wallpaper glue. Don't go skimpy on this step! The more glue, the better. You want to make sure that they dry hard.

After you have done this, take your doily and stick it onto your balloon, making sure that the sides are evenly pressed down. Once I stuck the doily on, I added another layer of glue just in case. 


As you can see, I first decided to place my balloon in a plant holder lined with newspaper. However, I soon realized that it may be easier if it was just hanging (which ended up being probably more difficult). Keep on adding the doilies until the balloon is covered. Make sure that the doilies overlap as this is how the ball will form and stick together. It will look something like this:


Now you have to let it dry. I brought mine inside at night (in case it rained) and hung it in a closet. I wanted to make sure mine was fully dry so I let it sit for the day. Once you feel that your glue is dry you can pop the balloon! I had read that the ballon will pop inside and you can just pull it out of the top, easy peasy. However, mine decided that it didn't want to do that. Half of the balloon stuck to the inside of the doilies so I had to poke the rest of the ballon out with a toothpick. A little annoying. After it was all un-stuck I cut a hole in the top of the ball so I could pull out the scraps.


Now your doily ball will be done!


You can either hang it with string, fishing line, but a light into it, use it as a centrepiece, or do with it how you please. I love this craft as it's pretty easy, not too expensive and just plain gorgeous. I plan on doing a couple smaller ones and hanging them all in a corner of my room. Enjoy!

Wednesday 25 May 2011

Thank you for cooperating

My favourite thing lately is when the weather cooperates with my plans. We finally had a really sunny and warm day on Monday, which was my (and the BF's) day off! What a perfect day for the beach. So we packed a lunch and headed out to soak up some sun.

We love picnics!


We love crab hunting!

We love randomly meeting friends on the beach! And we like making her hold a crab.

We love the beach!


Strawberry Chocolate Pie

I was going to a birthday party the other day and was asked to bring an appetizer or dessert with me. I wanted to try something new, so I looked around online in hope of some inspiration! The original dessert I wanted to make needed to chill for 3 whole hours and I definitely did not have that much time! Instead I found this quick, easy, delicious looking pie (if you want to call it a pie). Once I read the recipe I instantly knew that I needed to make it. What's better than a dessert that has strawberries AND Nutella in it!? The result was delicious and I will definitely make it again when I need to make something semi quickly.


Yup. It is a delicious dessert and will definitely satisfy any cravings you may have.

I didn't save the website where the recipe is from, so I cannot give credits where credits are due. However, I am fully aware that I did not create this concoction.

Ingredients

Crust:
1 1/2 cups graham cracker crumbs
3 tablespoons sugar
5 tablespoons unsalted butter, melted

Toppings:
About half a standard size jar of Nutella
2-ish cups of sliced strawberries
sugar to sprinkle over top

Directions

Preheat your oven to 350.  Lightly grease a pie plate then stir together your graham cracker crumbs, sugar and butter until it's all combined. Put the mixture onto your pie plate and press onto the bottom and sides of your dish. Bake for 10-12 minutes or until the shell is crisp (but not too crisp. I ended up accidently leaving mine in too long, which resulted in a too crispy crust). After it's done, remove from the oven and let it completely cool.

Once it's cooled, spread the Nutella in an even layer on top of the crust. Then arrange your strawberries in a spiral on top of the Nutella. Sprinkle with a little bit of sugar, just because. Eat. Enjoy. Be merry. Have people fall in love with you. Be thanked. Give your taste buds a whirl.

Tuesday 24 May 2011

It makes Sense

Does anyone else love Home Sense as much as I do? I just remembered a "funny" story abut Home Sense that involves my mom and I. It was the first time that we had both ever gone to the Home Sense/Winners combination store. So we walked into Winners and looked all around the store, walking through all the different departments. We then decided we wanted to go to Home Sense, so we walked outside the doors and walked straight into the Home Sense doors. We then got so confused as we walked around - they both had the same items. I mean, who does that? The stores are RIGHT next to each other! It took us only a short amount of time as we looked to our left and saw the Winners part on the far side of the store. The two stores were combined into one. Uh, duh. We had walked outside and back inside to look at Home Sense, yet we had already been to that part of the store. Yes, I know, we are just soooo smart. Let the laughing begin.

But back to the point of this post...

I went to Home Sense the other day and as I was looking around I found these amazingly beautiful plates and bowls. I have fallen in love with them.


Look at that pattern! So gorgeous. I could eat off these things any day!

----

xoxo Bethany

Sunday 22 May 2011

Cinnamon Buns

My first encounter in making cinnamon buns was in grade 7 cooking class. That's pretty much the only thing I remember making in that class (is that good or bad?). Anyways, I still love making them as they are just so so ooey, gooey, cinnamon-ey, and just plain delicious. I came across a recipe from pioneer woman and it is the recipe that I am using here today (although slightly changed).

I had been wanting to make cinnamon buns for a few weeks but didn't have the chance to do it as it takes a few hours. However, the other day I had a free afternoon and you bet I whipped these things up.

---

Heat your milk, oil and sugar in a large pot over medium heat. Do not let the mixture boil, but just heat everything up nice and warm. This is an important part: make sure to set the pot aside to cool to lukewarm before going to the next step. We do not want our yeast to die!


After the mixture has cooled to a lukewarm temperature, sprinkle the yeast on top and let it sit for 1 minute.


After the yeast has gotten a bit bubbly, add in 8 cups of flour and stir, stir, stir! But not too much now, just until it's all combined. Oh and it's not that I can't count (the ingredients say 9 cups of flour), but the other cup of flour will be used later. After this is done it gets to sit for an hour to rise! I know that there are many different methods people use to help rise the dough, but my go-to is to turn the oven light on and stick in the pot that is covered with a tea towel. Works like a charm.


Once the dough had doubled in size (an hour or so), add in the baking powder, baking soda, and the remaining 1 cup of flour (told you so). Stir until all combined together! At this point you can use the dough right away or save it in the fridge for up to 3 days (if you resist the urge to make these cinnamon buns).

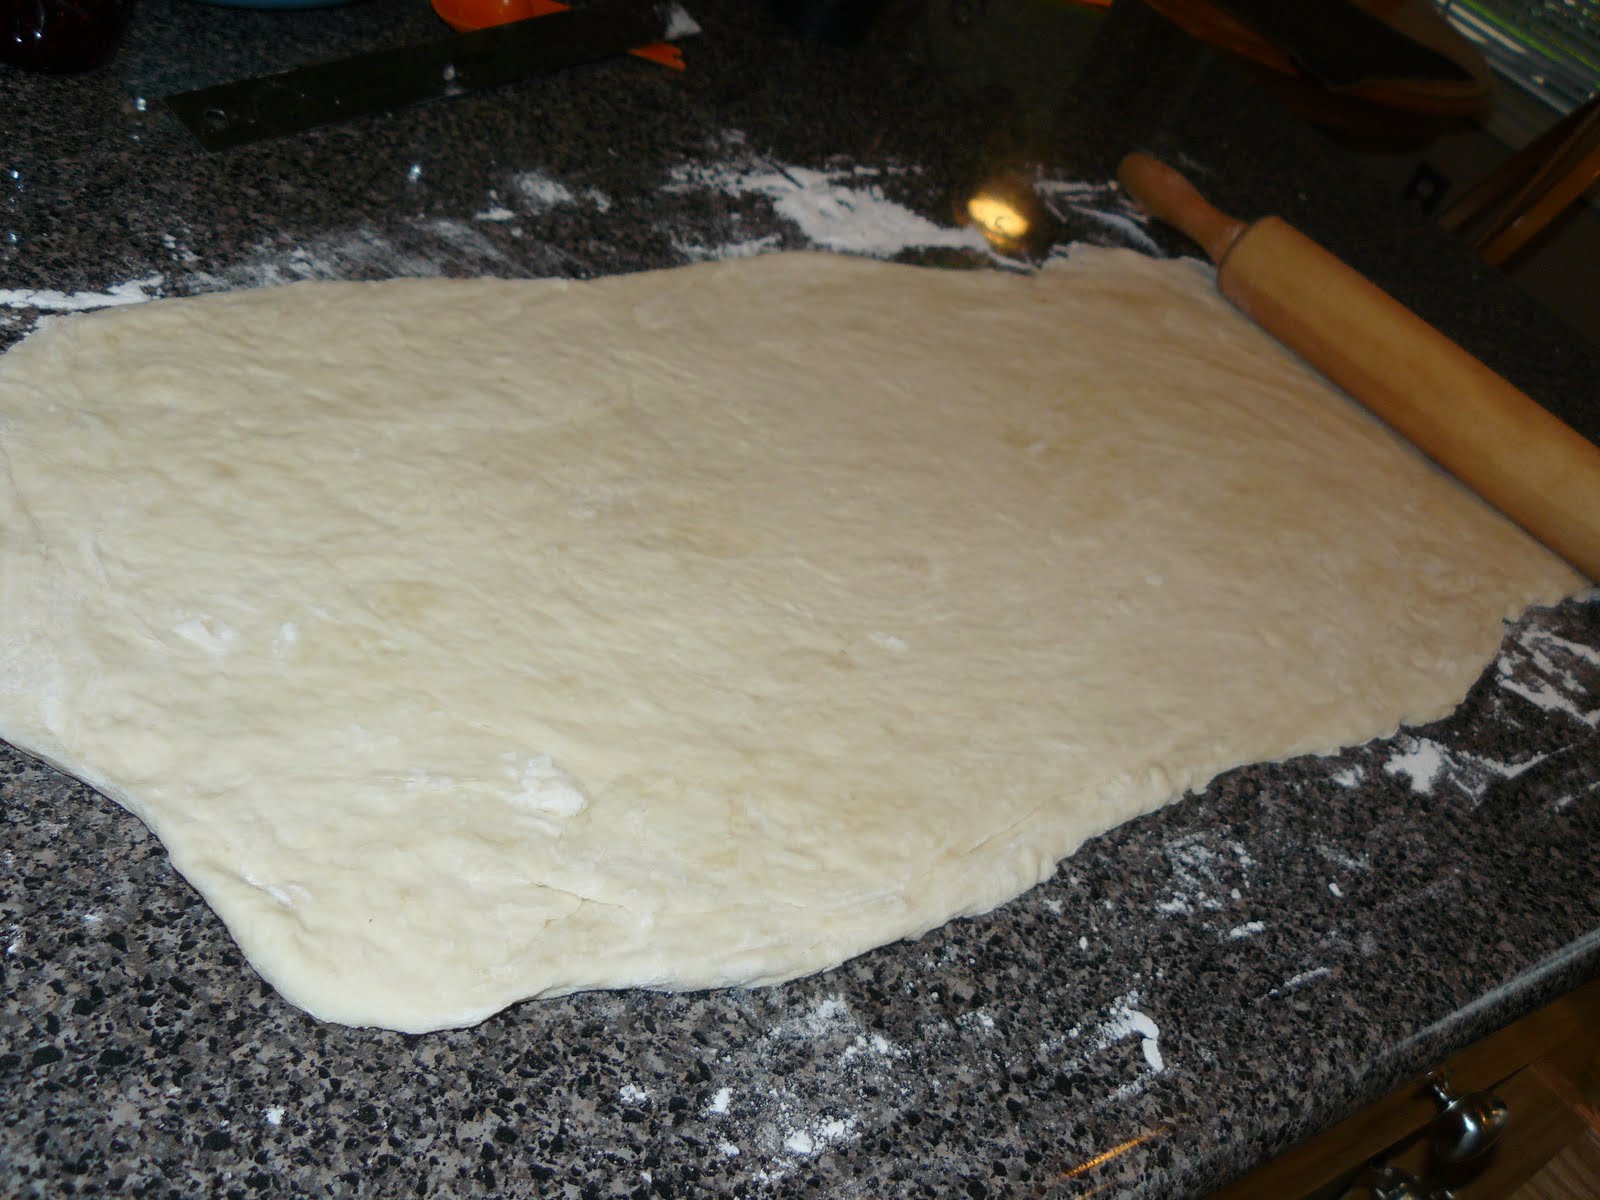
Take out half of the dough from the pot as this will be used to make the first set of buns. On a floured surface roll out the dough into a large rectangle that is about 30x10 inches. Like this:


Now we get to put the yummy filling on the dough!  Pour roughly 1 cup of the melted butter over the surface of the dough and spread it around. Next, sprinkle half of the cinnamon and one cup of the sugar (I did a 50/50 of brown and white). If you want to add more (or less) of the cinnamon or sugar, go right ahead, no one is stopping you. I opted to add a little more butter, sugar AND cinnamon (don't judge) because I wanted to have an ooey, gooey centre.


Roll, Roll, Roll. No, not the kind of rolls that you WON'T be getting once you eat the finished product of this. Didn't you know this was a NO CALORIE treat? I am talking about rolling in the dough! Beginning from the side farthest from you, roll the dough tightly towards you. You will definitely have to use both hands as this step is slightly tricky because the dough is so long. Once you have rolled the entire thing, pinch the seams together so everything stays intact. In this picture I had cut off the little nob at the end of the roll.


Move your rolled dough to a cutting board and either with a knife or dental floss or with whatever tool you use, make about 1 1/2 ince slices. The log will make roughly 2 dozen rolls. You can now take the other half of the dough and do the same process to get this yummy result!


Now you can put them into a round baking pan or you can just put them on a cookie sheet. Bake at 400 degrees for about 15 minutes, or until golden brown. Your house will smell delicious as these are in your oven.

Now, if you're like me you like icing on your cinnamon buns. I won't be posting a recipe for the icing because I didn't have the ingredients I wanted to make the right icing so I made a simple one with icing sugar. However, I didn't think it was note-worthy, so you can go use your favourite icing recipe! (maybe even share with me too!)

Dough
4 cups of milk
1 cup vegetable oil
4 1/2 tsp of active dry yeast (or 2 packages)
9 cups flour
1 heaping tsp baking powder
a little less than 1 tsp baking soda
1 tbsp sale

Filling
2 cups melted butter plus + more if needed
1/4 cinnamon (this is what the recipe says, but I would say I almost doubled it)
2 cups sugar + (I used one white one brown)

Tuesday 17 May 2011

I hope it was free...

So the other week I went for a drive in the country side with the BF and I suddenly spotted a chair just sitting on the side of the road. Since I recently have found a few DIY/decorating blogs that I am slightly obsessed in love with, I instantly thought that I could do something with this chair! So we turned around and went to make sure that it was free for the taking. We figured that no one would put such an amazing piece of furniture out on the road for someone to just drive by, look at and NOT take, so it had now made its way into the back seat of our car. Ready to see this beauty? 


Can you see why I instantly fell in love? I know some of you may be thinking that it is the ugliest thing ever. However, I think it has so much potential! Some new fabric and a little TLC to the wooden legs and I will have myself one good looking chair. Now the hard part is to find the perfect fabric. I am highly indescicive concerning some things (what to eat for dinner, what kind of duvet cover I want, what movie to watch, you get the picture), and I don't think this will be any easier! I have also never recovered a chair before so it should be interesting. Here's to new adventures!


Other than buying fabric in a store, does anyone have any online websites for some good yet cheap fabric?

Thursday 12 May 2011

Hungry, Hungry, Hippo

First off, does anyone else use groupon ? If you haven't, you should definitely check it out! That is how the BF and I found our way to the zoo. Sure $20.00 per person to get in isn't TERRIBLE, but getting in for $10.00 per person? That is more like it.

Since it's been non-stop horrible weather here lately, we were lucky that the rain had stopped the morning we were going to the zoo (because really, who wants to walk around the zoo when it's a downpour? Not I). It was such a fun afternoon, even though the animals weren't co-operating with me as much as I would like them to have ( they could have been nice and came over and said hi, but most of them just slept so I couldn't see their beauty. So stubborn).

Here are some highlights from the day! I unfortunately forgot my camera at home-bummer! However, good thing cell phones have decent cameras on them.

This is one of the first animals we saw! Once we saw the camel we both started singing "Sally the camel has 2 humps..."

He was very angry looking. But his feathers were so gorgeous!

He broke my heart because he looked so sad. Poor Eeyore.


Hungry, Hungry, Hippo's! 

We timed our walk perfectly and made it just in time for the feeding of the Hippo's! We were also told that one of them is the Telus Hippo that you see in the commericails!

Here is Kyle with his favourite animals! 

Ah, and then we went and saw my favourite-the giraffes. I just think they are such a gorgeous animal!


Look how close I got! :)


What are your favourite zoo animals?

Friday 29 April 2011

Marbled Coconut Brownies

What's better than a delicious mix of brownie, blondie, coconut and chocolate? Yeah, not a lot. I was wanting to make something a little different and this was the winner! I found this recipe over on a blog called Girl Meets Life and I must say that it was AMAZING (check out her blog too, it's cute!)


Along with these ingredients are 1/3 cup white chocolate, 1-2 tablespoons milk and 1/3 cup coconut which are for the topping!

Let's start baking!

Start off by making mixing together your brownie mix from the box. I know that a boxed brownie may not be everyones first choice, so use your own recipe if you'd like! After you mix that together, add in your coconut (coconut makes everything better!) and stir. Once that loveliness is combined, set it aside. 


Combine the melted butter and brown sugar in the other bowl and after those two have become joined at the hip, add in 1 egg, vanilla and flour.
   
In a greased, 9 x 13 pan, pour the brownie batter in and spread evenly. Once you have coated the bottom of the pan, pour on the blondie mixture (a.k.a the other bowl). Spread the blondie mixture over the brownie mixture, then take a butter knife (or finger if that's you're thing... a little taste test never hurt anyone) and swirl the two together.

Put that baby in the oven for 30 minutes! See ya soon!

After it's done and you've taken it out of the oven without dropping it like I did, you can either leave it plain or add some topping. I highly recomment adding the topping. Take your mixture (white chocolate, milk and coconut) and melt the white chocolate in the microwave. Add a little bit of the milk, then mix about. Drizzle on top of the brownie. Then sprinkle on that coconut.
Once this has cooled, cut up and enjoy! This dessert is beyond delicious, so go ahead and try it. You know you wannnna.

Marbled Coconut Brownies- recipe from Girl Meets Life

Ingredients

1 box brownie mix (+ additional ingredients for mixture)
1 egg
1 cup shredded coconut
1/2 cup melted butter
1 cup brown sugar
1 cup flour
1 teaspoon vanilla extract

Icing (optional)

1/3 cup white choloate
1-2 tablespoons milk
1/3 cup coconut

Preparation Instructions
Preheat oven to 350 degrees. In a large bowl, comine brownie mix. Add the shredded coconut and stir.

In another bowl, mix together the brown sugar and melted butter. Add in 1 egg, vanilla and flour. Combine.

Grease a 9 x 13 pan and pour in the brownie mix and spread evenly. Pour the blondie mix on top and use a butter knife to swirl the two together. Bake in oven for 30 minutes.

Eat.
___________


Enjoy! xoxo Bethany